How to Calibrate Your Home Theater for the Best Sound
Key Takeaways
- Calibrating your home theater system is essential for optimal sound quality.
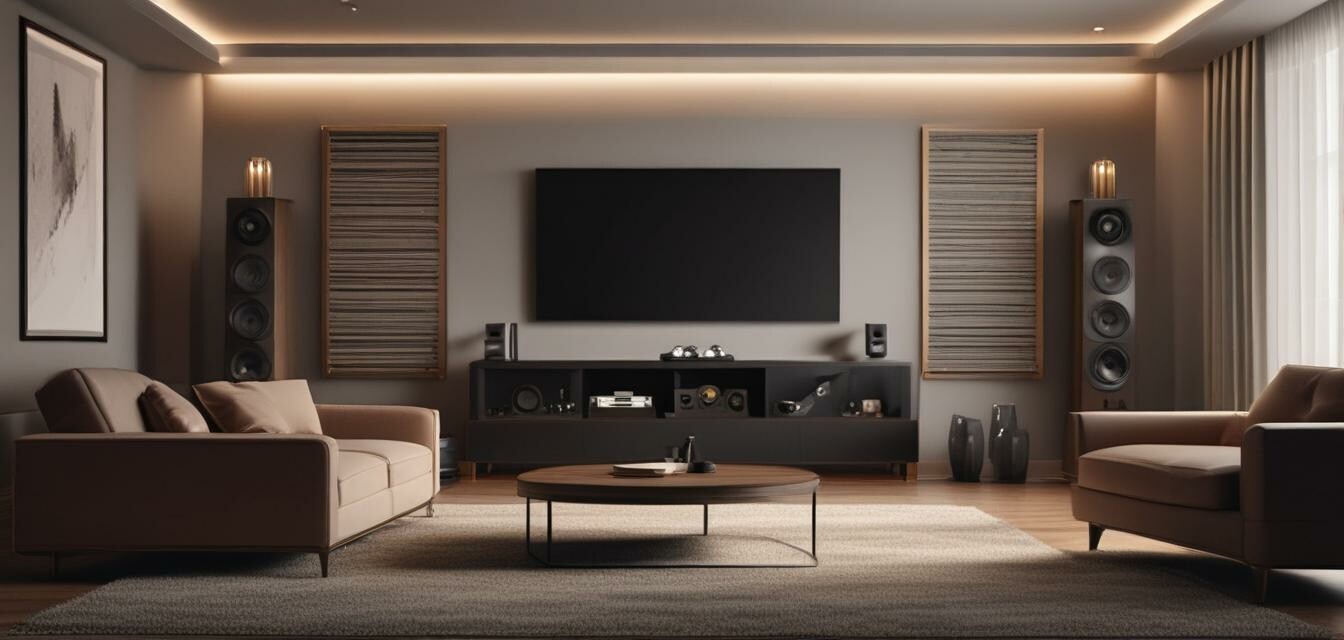
- Speaker placement greatly influences the overall sound experience.
- Use calibration tools for precise adjustments.
- Regularly check your settings for changes due to new equipment or rearranged furniture.
- An acoustically treated room can significantly improve sound quality.
Creating a luxurious home theater experience involves more than just purchasing high-end equipment; it also requires meticulous calibration. Proper settings enhance audio performance, allowing you to enjoy movies, music, and games with unmatched clarity and depth. In this article, we will guide you through the steps to calibrate your home theater system for optimal sound quality.
Understanding the Importance of Calibration
Why is calibration crucial? Every room has unique characteristics that affect audio quality. Factors like room size, shape, and furnishings can alter how sound waves travel, leading to echoes, muffled sounds, or unbalanced frequencies.
Step-by-Step Calibration Process
-
Set up your equipment
- Position your speakers for optimal sound dispersion.
- Ensure your receiver and other components are connected correctly.
-
Measure your room
Use a sound level meter or calibration microphone to assess sound levels throughout the room.
-
Adjust speaker placement
Try different positions for your speakers to find the best sound. A common rule of thumb is to position them at ear level and angle them towards your listening position.
-
Utilize calibration tools
Many home theater receivers come with built-in calibration tools. These systems typically involve placing a microphone at your primary listening position; they will adjust sound levels, distances, and equalization settings automatically.
Essential Tips for Optimal Sound
Helpful Tips
- Consider investing in acoustic treatments to reduce unwanted reflections and echoes.
- Experiment with your speaker settings, such as crossover frequency and volume, for improved performance.
- Regularly check and clean your connections to minimize noise and ensure optimal signal transfer.
- Occasionally recalibrate your system, especially after moving furniture or changing equipment.
Frequently Used Calibration Tools
| Tool | Description |
|---|---|
| Audio Analyzer | Analyzes sound frequencies to identify discrepancies in output. |
| Sound Level Meter | Measures sound levels at different points in the room. |
| Calibration Software | Offers advanced adjustment settings for your audio equipment. |
Keeping Your Calibration in Check
After calibrating, it's vital to monitor your home theater’s performance regularly. Changes in the room such as new furniture, wall decorations or additional equipment can affect the sound quality, necessitating a recalibration. Always make adjustments when you feel the audio has shifted from its ideal state.
Conclusion
Calibrating your home theater system is crucial to achieving the best audio experience possible. By following these steps and regularly assessing your setup, you can create a truly immersive sound environment. Dive deeper into our setup tips and explore more about optimizing your home theater experience through our Setup Tips category.
Pros
- Enhanced audio clarity and depth.
- Fully customized sound tailored to your room.
- Improved overall home theater experience.
Cons
- Calibration can be time-consuming.
- Requires specialized tools or software.
- Results may vary if room or equipment changes.